Polishes you will need:

-A base coat ( mine is Boots' own)
-A green striper (stripers are very thin brushes which enable you to draw straight lines
-A yellow striper
-A red polish
-Nail varnish remover and cotton wool balls
-optional - cotton buds (cotton swabs in America)

1. Remove any old polish - it is important to do this because any old polish or dirt will cause the new mani to have less to grip onto and chip more easily.

2. Apply a base coat - give your polish something to grip and protect your natural nails.
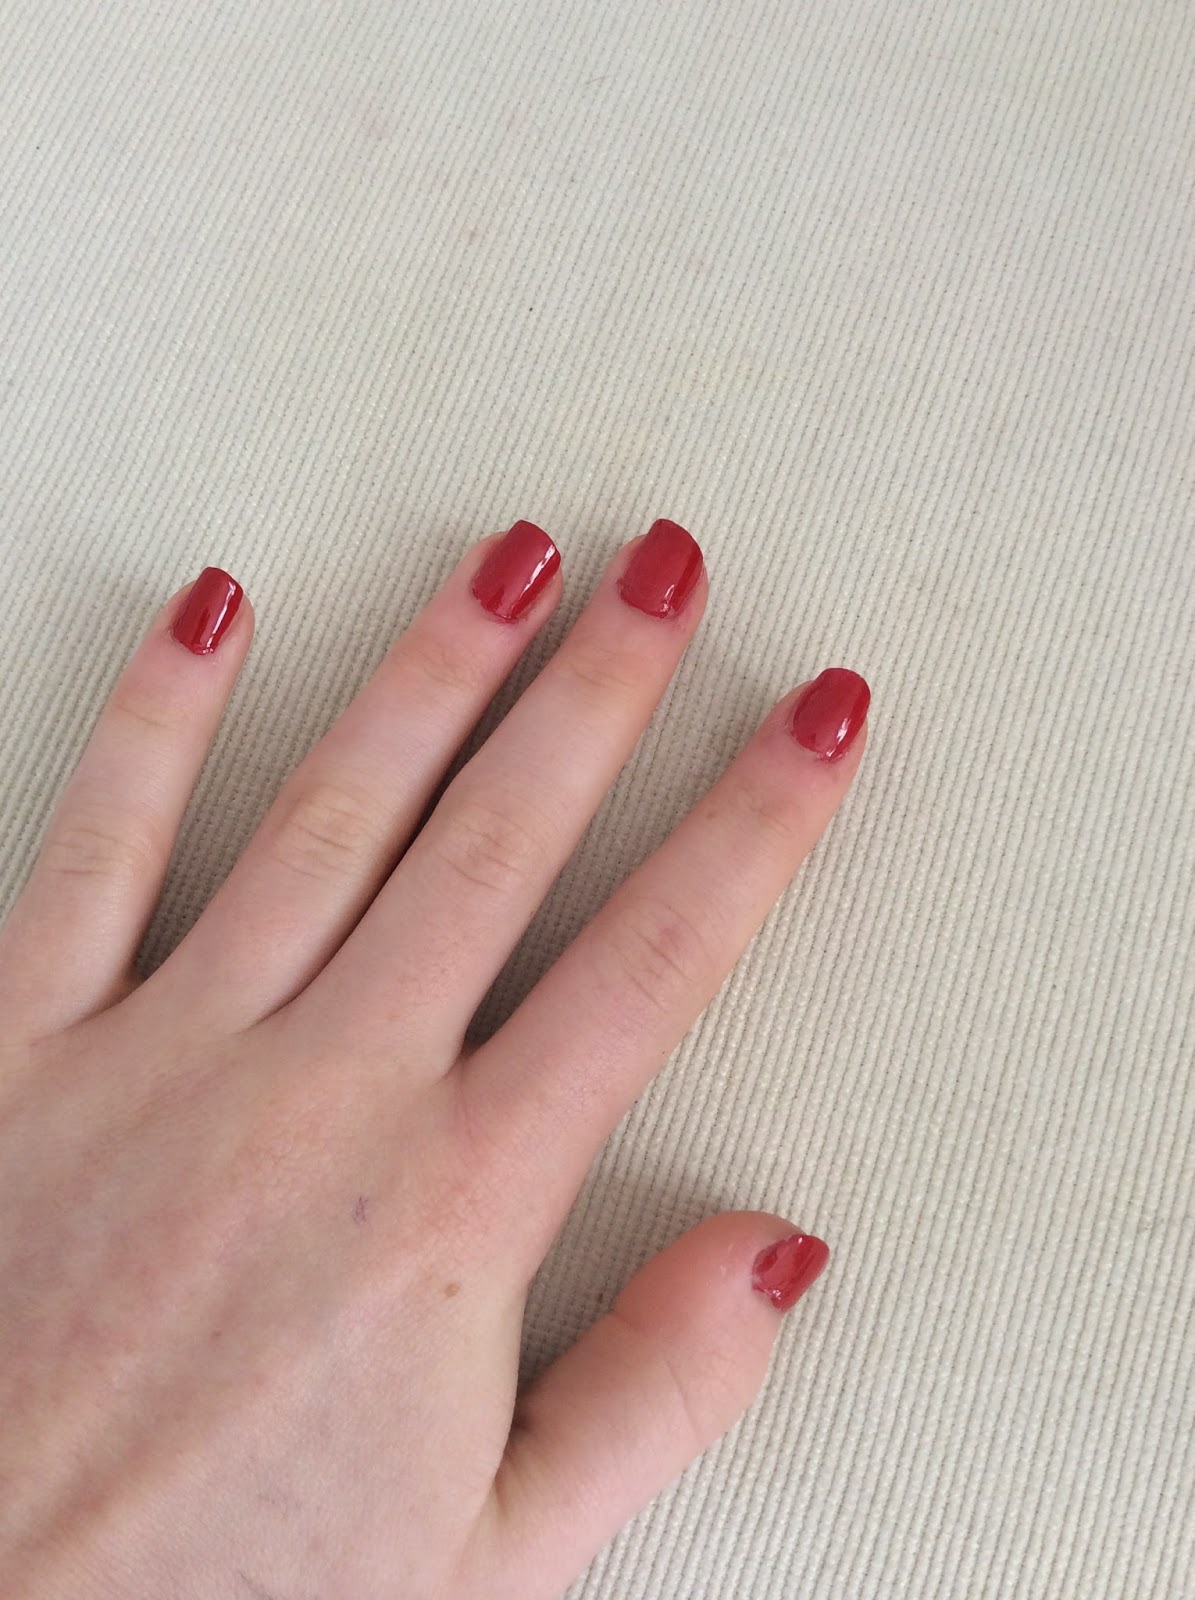
3. Apply two thin coats of your red polish. Never do one thick coat because it will take forever to dry and smudge very easily. Two thin coats will dry quickly and be very opaque.

4. With a green striper, paint small leaves at the tip of the nail.

5.With the yellow striper, paint small yellow lines or dots for the seeds
5. Add a top coat to seal in your design and add a shine that will last for days!

6.Show off your new mani!
(Just remember to let it dry so you don't smudge it!! )
I hop you liked this little tutorial - leave requests if you want me to do a specific design and if you do a recreation leave it below!
XXX
LeahKatie
No comments:
Post a Comment